
QuickBooks Tip 4 - Adding a Vendor
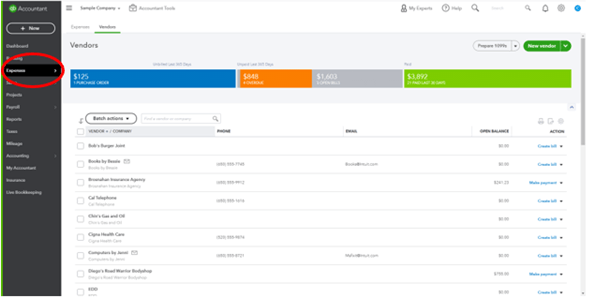
Welcome back to our Tip of the Week series. In the last couple of weeks, we looked at how to add customers and create invoices. Today, we will look at adding a vendor. You will start by hovering over the Expenses tab (circled above in red) on the left toolbar. One of your choices will be “Vendors.” This will load your current vendor list. To add a vendor, select “New Vendor” in the top right corner. (see circle in top right corner) This will open a form for you to add their information.
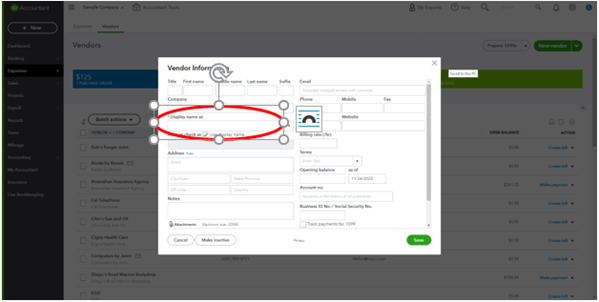
As with adding customers, you can add a great deal of info in the fields. Although the name of the company, address and contact details are often needed and should be added, Quickbooks only requires you to fill in “Display Name.” Once you are done, click, “Save” and you have a newly added vendor.
Want more tips on using QBO for your small business? Subscribe to our mailing list or follow us on Facebook, Instagram and Twitter!